Almost every editing mistake I see — in my own old work and in everyone else's — comes down to a single root cause. It isn't a lack of skill or the wrong software. It's doing too much. The good news in that is freeing: you don't have to learn a hundred fixes. You mostly have to learn to stop sooner. Let's walk through the traps that catch people most often, and the simple habits that pull you back out.
Clarity and texture overload#
There's a family of sliders — often called clarity, texture, or structure — that add local contrast and make a photo look crisp and defined. In small amounts, they're wonderful. Pushed hard, they're one of the most recognizable signs of an over-edited image.
Crank up clarity and edges start to glow. A faint halo appears where light areas meet dark ones — around a person against the sky, along the ridge of a mountain. Skies turn gritty, skin takes on a harsh, over-textured look that's deeply unflattering to faces, and the whole image acquires a kind of grungy, processed intensity that reads as "edited" from across the room.
The fix is restraint and selectivity. Use these sliders gently overall, and if a particular area needs more definition, apply it just there rather than to the whole frame. And keep clarity well away from skin — faces almost always want less texture, not more.
Saturation overload#
We covered this in the context of color, but it earns a place here because it's so common. Saturation makes colors more intense, and intense colors feel exciting in the moment, so people keep pushing.
The result is a photo where greens go electric, skies go an unnatural cobalt, and — worst of all — skin turns orange and sunburned. Over-saturated images look cheap and tiring, the visual equivalent of shouting. The colors stop describing the scene and start screaming over it.
If you want more life in your colors, reach for vibrance instead, which lifts the muted tones while protecting skin and already-strong colors. And whatever you use, make the move, then pull it back. The amount that looks "good" while you're staring at the slider is almost always too much; the amount that looks right tomorrow is less.
Heavy HDR#
HDR — combining or processing a photo to show detail in both the brightest and darkest areas at once — was useful enough that it became a style, and then a cautionary tale.
Pushed too far, it produces an instantly recognizable look: flat, with no real shadows or highlights anywhere, every surface evenly lit and faintly glowing, often with those clarity halos along the edges. It's the look of a photo that's trying to show everything, and in doing so shows nothing convincingly. Real scenes have bright areas and dark areas; an image with neither feels wrong even to viewers who can't say why.
Recovering highlights and lifting shadows are genuinely useful — that's not the problem. The problem is using them to flatten an image into uniform brightness. Keep some true shadow and some true highlight in your photos. The dark and light areas are part of what makes an image feel real.
The cure for nearly every over-editing mistake is the same: make the change, then back it off until it stops calling attention to itself.
Crushed skies and lost detail#
The opposite mistake also catches people: pushing contrast or darkening so hard that detail disappears for good.
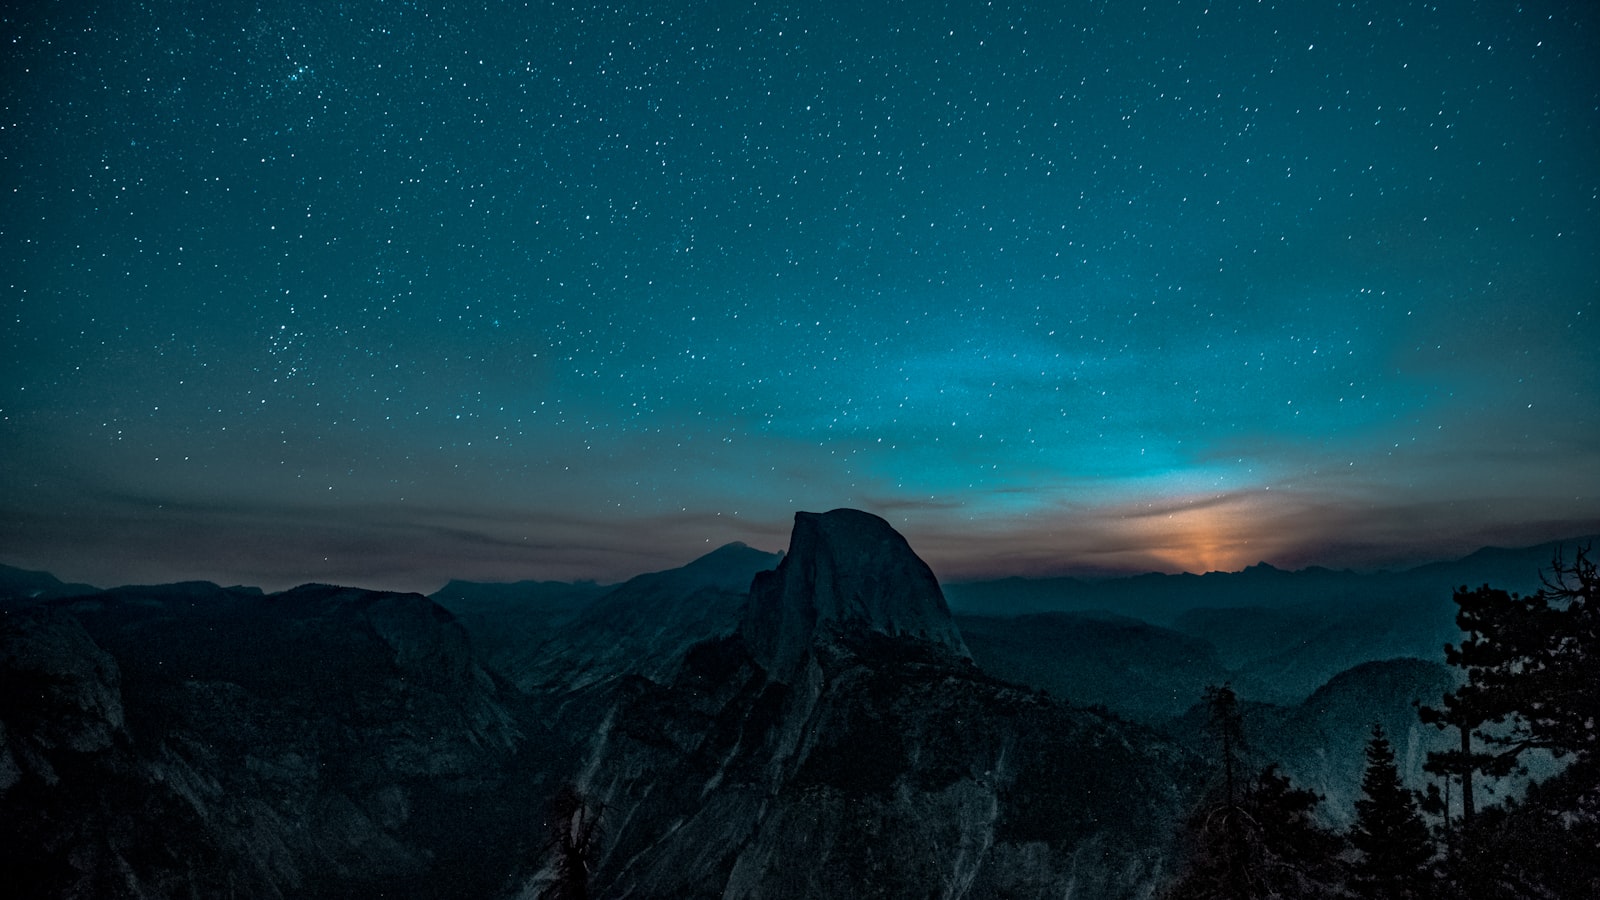
A common version is the crushed sky — dragging the blues so dark that a once-pleasant sky turns into a flat, heavy, almost black band with no gradient or life. Another is shadows pushed to solid black, swallowing texture in the corners of the frame. Once tone is crushed to pure black or blown to pure white, the detail is gone and no amount of later editing brings it back.
A little true black and true white gives an image depth. A lot of either, applied carelessly, just throws away the very detail you worked to capture. Watch the extremes, and ask whether you're adding richness or destroying information.
Inconsistent looks across a set#
This one isn't about a single photo — it's about a group of them, and it's the most overlooked mistake of all.
You edit a set of photos over several sessions, in different moods and different light in your room, and the results drift. One is warm and bright, the next is cool and moody, a third is somewhere in between. Each might be fine alone, but together they feel like the work of three different people. Viewers read a set as one piece, and the inconsistency quietly undermines all of it.
A few habits prevent this drift:
- Edit related photos together, in one sitting, while your eye is calibrated to the same reference.
- Edit one image well first, then judge the rest against it instead of starting each from scratch.
- Watch white balance especially — wandering color temperature is the most common source of an uneven set.
The two habits that fix almost everything#
Notice that every mistake above is a version of going too far, and that the cure is always some form of pulling back. So rather than memorizing fixes, build the two habits that catch all of them.
The first is toggling before-and-after. After you edit, switch the original on and off a few times. If the edited version looks obviously worked on next to the original — glowing, vivid, intense — you've overshot, and the comparison makes it impossible to miss.
The second is walking away. Make your edit, close the file, and come back later with fresh eyes. Tired eyes adapt to excess and call it normal; rested eyes see the truth. More over-editing has been undone by a good night's sleep than by any technique.
Both habits point at the same quiet idea. Editing is meant to develop the photo you took, not transform it into something else. When you feel the urge to push a slider further, that's usually the moment to stop instead. Pull back, compare, walk away, and trust that the gentler version — the one that looks like what you actually saw — is almost always the better one.