Years ago a student asked me, almost shyly, where I went to find such nice light for my photos. I had to smile, because the answer was nowhere. I'd taken most of them in the same plain rooms and streets she walked through every day. The difference wasn't the location. It was that I'd learned to notice the light that was already there. That noticing is the single most useful skill in photography, and the good news is that it costs nothing and works everywhere.
Let me show you how to start seeing it.
Light Has a Direction#
Most beginners think about light as bright or dim. But the more important question is where it's coming from, because direction is what gives a subject shape. The same face, the same flower, the same wall looks entirely different depending on which way the light arrives.
When light comes from the side, it skims across your subject and reveals texture and form. You see the curve of a cheek, the grain of wood, the folds of cloth. This is usually the most flattering and interesting direction, and it's the one to reach for first.
When light comes from straight ahead — say, the sun or a window directly behind you — it flattens everything out. Faces lose their dimension; scenes look a little plain. It's not wrong, but it's rarely the most beautiful choice.
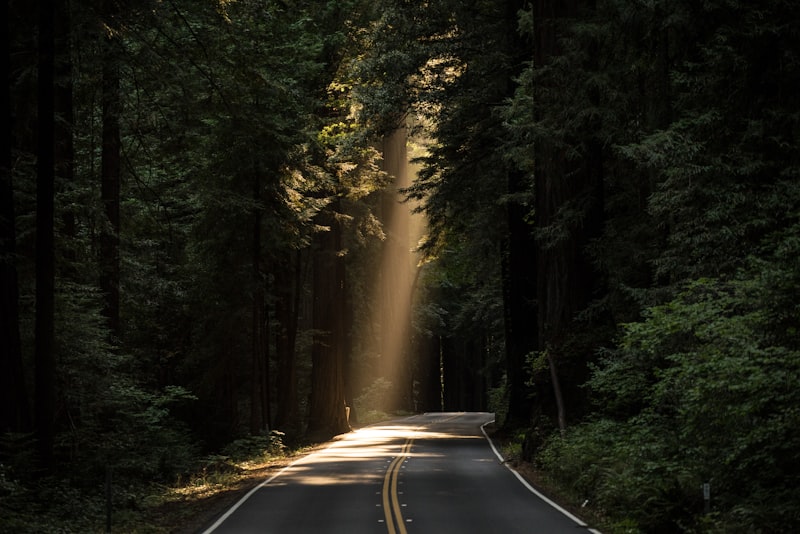
When light comes from behind your subject, you get glow and rim light, hair lit up bright, a soft halo. It's harder to handle but can be lovely.
The exercise is simple: before you shoot, find the light's direction. Hold up your hand and turn it slowly. Watch the shadow move across your knuckles. Now you know where the light is, and you can place your subject in it on purpose.
Soft Light and Hard Light#
The other thing to feel is how soft or hard the light is, because this sets the whole mood.
Hard light comes from a small or direct source — bright midday sun, a bare bulb. It makes sharp, dark shadows with crisp edges. It's dramatic and bold, full of contrast, but it's unforgiving. It deepens every line on a face and can blow out bright spots. Use it when you want drama, not when you want gentleness.
Soft light comes from a large or scattered source — an overcast sky, light bouncing off a wall, sun filtered through a curtain. The shadows it makes are gentle and gradual. This is the kind of light that flatters skin, calms a scene, and forgives a lot. It's what most people mean when they say a photo has "nice light."
You don't always need brighter light. More often you need softer light, and softness is something you can find or make almost anywhere.
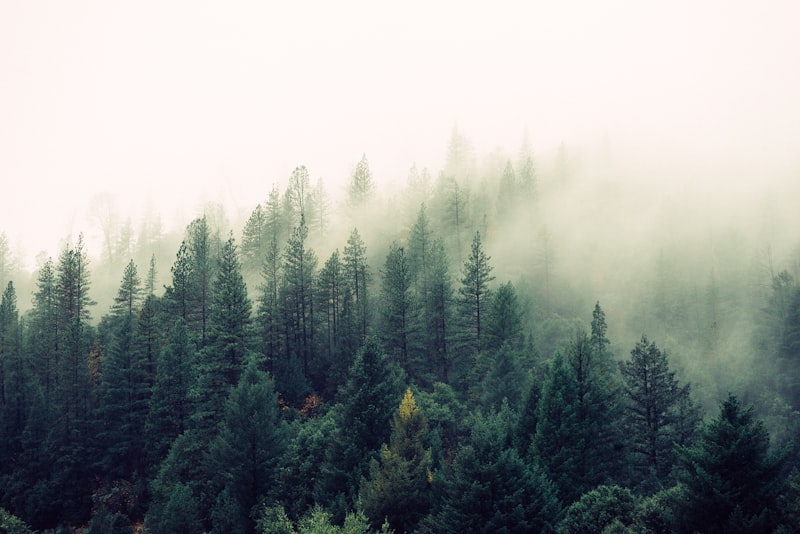
A cloudy day, which beginners often dread, is actually one giant soft light. The clouds spread the sun evenly, wiping away harsh shadows. Once you know this, you stop waiting for sunshine and start seeing clouds as a gift.
The Clock Changes Everything#
Light isn't just a place; it's a time. The same window or street gives you wildly different light through the day, and learning the rhythm means you can choose when to shoot.
- Early and late, when the sun is low, the light is warm, soft, and angled — the easiest light to love.
- Midday, with the sun overhead, the light is harsh and shadows fall straight down. Tough for faces, though fine for bold graphic scenes.
- Overcast, any time, gives you that even, gentle, shadowless light all day long.
- Indoors, near a window, you get soft directional light whenever you want it.
You don't have to chase the perfect hour. You just have to know what each part of the day offers, so you can match your subject to the light or come back when the light suits it better. A portrait that fights you at noon might fall into place an hour before sunset.
Shaping the Light You Have#
Here's where it gets fun: you're not stuck with the light exactly as it lands. With almost no gear, you can bend it.
Move into the shade#
On a harshly sunny day, step your subject into open shade — under a tree, beside a building, in a doorway. The shade trades hard, contrasty sun for soft, even light. It's one of the fastest fixes there is. Just make sure the shade is open to the sky on one side so the light still has gentle direction.
Use a window#
A window is a free, beautiful light source. Place your subject beside it, not in front of it, so the light rakes across them from the side. Sheer curtains soften it further. I've made some of my favorite portraits two feet from a kitchen window on a gray afternoon.
Bounce a little light back#
When light comes from one side, the far side falls into shadow. To gently lift that shadow, place something pale on the dark side to bounce light back — a white wall, a sheet of paper, a light shirt, a foam board. This simple trick, called using a reflector, evens out a face without any equipment at all. Hold the white thing near your subject and watch the shadow soften.
None of this requires a studio. A window, a patch of shade, and a piece of white card will take you remarkably far.
Start Noticing Today#
The way to get good at light is not to read more about it. It's to look. For the next week, try this: wherever you are, ask one quiet question — where is the light coming from? Notice it on a coworker's face, on your coffee cup, on the floor of a hallway. You don't even have to take a picture. You're just waking up the part of your eye that registers light.
Soon you'll catch yourself thinking, that light is beautiful, in places you never noticed before — a stairwell, a bus seat, your own front step. That moment is the skill arriving. It doesn't come from gear or travel or luck. It comes from looking a little longer than you used to. Anyone can learn to see light this way, and once you do, you carry good light with you everywhere you go.