Most blurry photos are not a focus problem. They are a holding problem. The camera was sharp enough, the lens was fine, the autofocus locked on cleanly, and then a tiny tremor in your hands smeared the whole thing at the last instant. It happens to everyone, and almost nobody talks about it, because gripping a camera feels too simple to teach.
But it is the first thing I show new students, before settings, before composition, before anything. The way you hold a camera is the foundation every other skill stands on. Get it right and you will be amazed how many keepers you suddenly have.
Start with your hands#
There is a right hand and there is a left hand, and they do completely different jobs.
Your right hand wraps the grip and works the shutter. That is the busy hand, the one that presses buttons and turns dials. Keep it relaxed. A white-knuckle grip transmits every twitch straight into the camera.
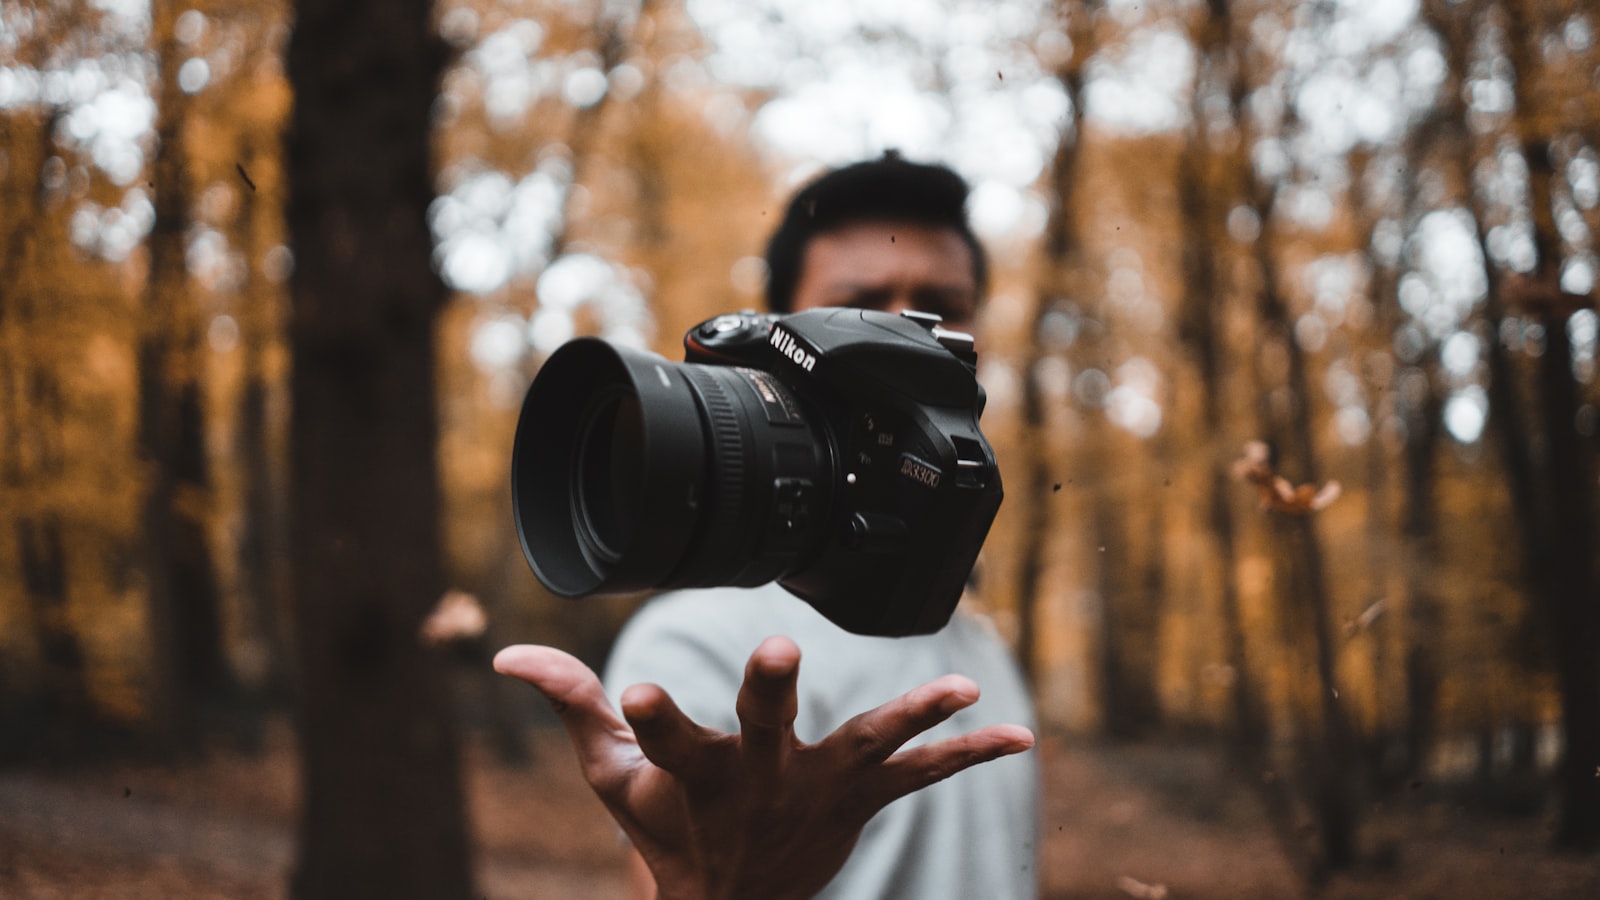
Your left hand is the quiet hero. It should come up from underneath and cradle the lens, palm open, so the weight of the camera settles into it. This is the single biggest change you can make. Most people pinch the lens from the side with two fingers, which gives the camera nothing to rest on. Cup it from below instead and the whole rig stops feeling top-heavy.
Think of your left hand as a small shelf. The camera sits on the shelf. Your right hand just aims and fires.
If you are shooting with a heavier lens, this matters even more. A long lens hangs out in front of the camera like a diving board, and pinching it from the side leaves all that weight unsupported and wobbling. Slide your open palm all the way under it, as close to the front as feels comfortable, and suddenly the lens has a foundation. The bigger the glass, the further forward your supporting hand should travel.
Build a stance, not a pose#
Your arms are only as steady as what they are attached to. So we work down from the hands to the rest of you.
Tuck your elbows in toward your ribs. Loose, flapping elbows act like long levers that amplify every shake; tucked elbows lock your upper arms against your torso and turn your body into a single braced unit. You want to feel compact, gathered in, almost like you are quietly holding something precious against your chest.
For your feet, set them roughly shoulder-width apart, one slightly ahead of the other. This gives you a stable base in every direction instead of a wobbly side-to-side line. Soften your knees. Locked knees make you rigid, and rigid bodies sway more than relaxed ones do.
A steady photographer is not stiff. The goal is not to freeze like a statue, but to become calm and grounded enough that your stillness happens on its own.
If you are holding the camera to your eye, press the viewfinder lightly against your brow. Now you have three contact points working together: two hands and your face. Three points are far steadier than two.
Breathe like a marksman#
Here is the part almost no one thinks about: you are breathing, and your breath moves the camera.
Every inhale lifts your chest and shoulders. Every exhale lowers them. If you fire the shutter mid-breath, the camera is rising or falling at that exact moment. The fix is borrowed straight from target shooting.
Take a normal breath, let it out gently, and at the soft pause at the bottom of the exhale, that is when you press the shutter. Not by stabbing at it, but by squeezing slowly, the way you would press a doorbell you do not want to break. A jab pushes the camera down; a squeeze leaves it where it is.
You do not need to hold your breath dramatically or turn blue. Just stop fighting your own lungs. One slow exhale, one gentle squeeze, and the picture is taken in your steadiest possible instant.
There is a calmness to this that goes beyond sharpness. When you slow your breath to take a photo, you slow yourself down too. You stop rushing. You start to feel the moment before you capture it. Many photographers find that this single habit quietly improves not just their technical results but the patience and attention they bring to the whole act of looking.
Brace against the world#
When the light fades and your shutter speed drops, your hands alone are not enough, and that is fine. The world is full of tripods if you look for them.
A few that are always nearby:
- A wall or doorframe to lean a shoulder against
- A railing, table, or fence to rest your elbows on
- Your own raised knee when you crouch or kneel
- A car roof, a backpack, or a stack of books as an improvised platform
Lean in, settle your weight, and let the building hold still for you. Sitting down and propping your elbows on your knees creates a remarkably solid platform with nothing but your own body. When I shoot in dim interiors, I am constantly drifting toward the nearest pillar without even deciding to. It becomes instinct.
A quick word on shutter speed#
As a rough starting point, many photographers aim for a shutter speed at least as fast as one over their focal length for hand-held shots, so a 50mm lens wants roughly 1/50 of a second or quicker. It is only a guideline, not a rule, and it varies with your gear, your steadiness, and any stabilization your camera or lens may offer. Treat it as a nudge to check your settings, then trust your own results.
Let it become second nature#
None of this is complicated. Cradle the lens from below, tuck your elbows, plant your feet, exhale, and squeeze. Brace when the light gets low. That is the whole craft.
What surprises people is how quickly it disappears into habit. For a week or two you will think about your elbows and your breath consciously, and then one day you will notice you are doing all of it without a single thought, while your attention is free to rest entirely on the picture in front of you.
That is the real gift of getting the fundamentals right. They quiet down so the seeing can begin. Hold your camera well, and you free yourself to forget about the camera altogether, which is exactly where the good pictures live.